How to Gain Operational Insights With AIOps Using Amazon DevOps Guru
AWS Community Builder, AWS ML Specialist, Full-Stack Developer
Amazon DevOps Guru offers a fully managed AIOps platform service that enables developers and operators to improve application availability and resolve operational issues faster. It minimizes manual effort by leveraging machine learning (ML) powered recommendations.
Its ML models take advantage of AWS’s expertise in operating highly available applications for the world’s largest e-commerce business for over 20 years. DevOps Guru automatically detects operational issues, predicts impending resource exhaustion, details likely causes, and recommends remediation actions.
In this tutorial, you will learn how to enable DevOps Guru for your account in a typical serverless environment, and observe the insights and recommendations generated for various activities. These insights are generated for operational events that could pose a risk to your application availability.
DevOps Guru uses AWS CloudFormation stacks as the application boundary to detect resource relationships and co-relate with deployment events.

As depicted in the above diagram, we use a CloudFormation stack to create a serverless infrastructure, comprising of Amazon API Gateway, AWS Lambda, and Amazon DynamoDB, and inject HTTP requests at a high rate towards the API published to list records.
The goal of this workshop is to demonstrate the insights generated for anomalies detected by DevOps Guru from DevOps operations.
When DevOps Guru is enabled to monitor your resources within the account, it uses a combination of vended Amazon CloudWatch metrics and specific patterns from its ML models to detect anomalies. When an anomaly is detected, it generates an insight with the recommendations.
The generation of insights is dependent upon several factors. Although this workshop provides a canned environment to reproduce insights, the results may vary depending upon traffic pattern, timings of traffic injection, and so on.
PREPARE AND DOWNLOAD PACKAGES
- Access to Linux Shell Terminal
This example uses AWS Command Line Interface to be run in Terminal / Shell application on your local machine.
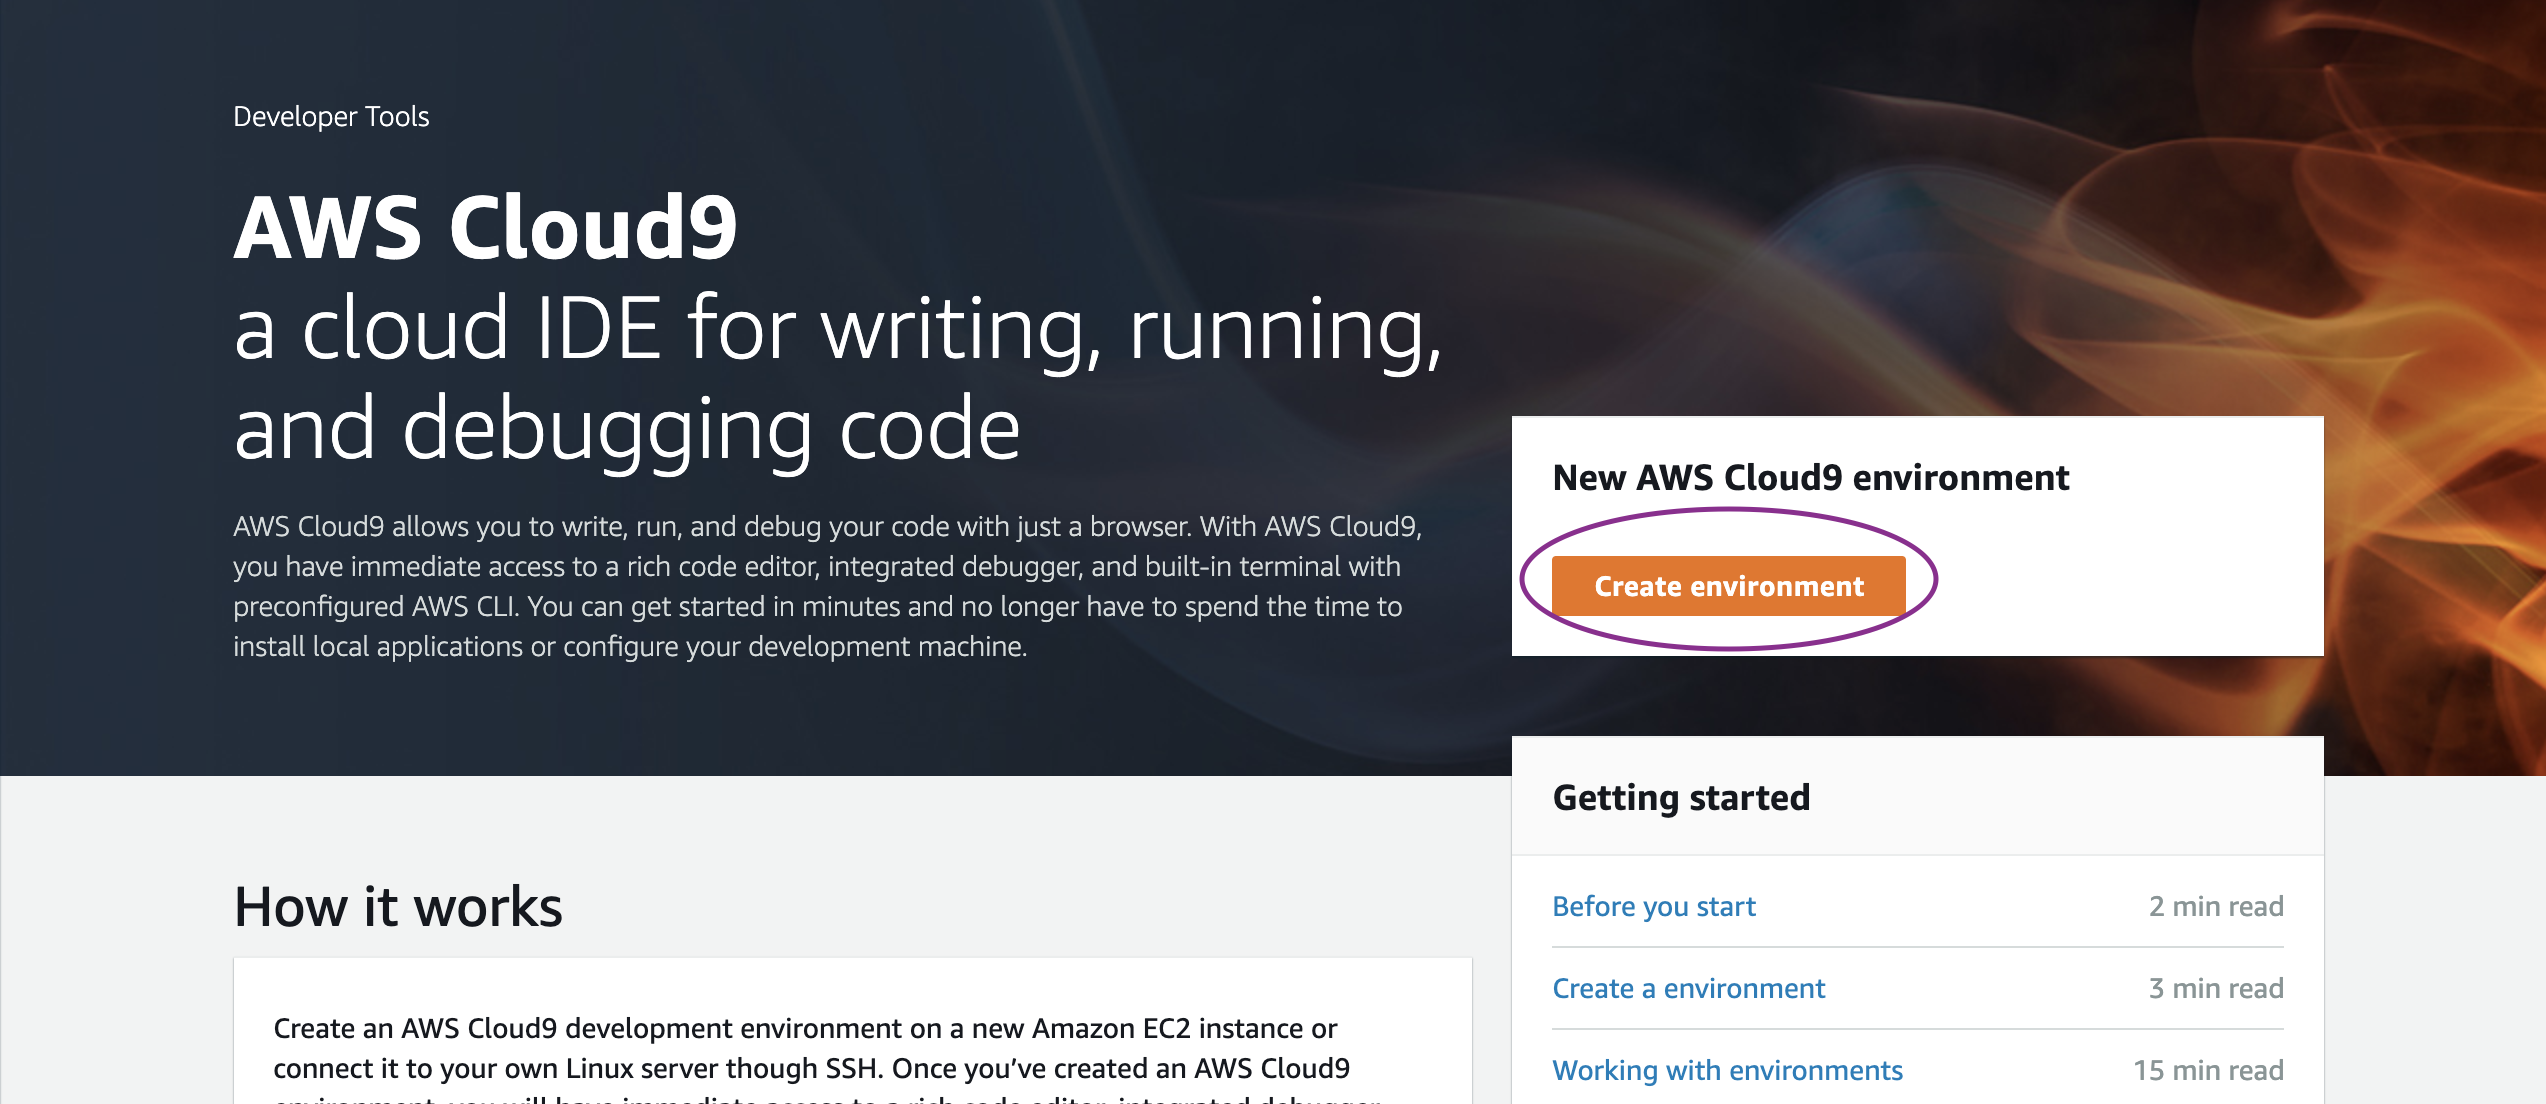
AWS Cloud9 service is recommended to set up your environment that comes pre-installed with AWS CLI packages, git, and many other useful utilities along with inbuilt IDE functionalities. Once logged in, you can use this browser-based IDE for coding, bash shell to run the Linux commands. While creating the Cloud9 environment, ensure the hibernate settings are configured to 30 minutes or more.
- Go to Cloud9
- Select Create environment
- Name it devopsguru-workshop, click Next step
- Choose “t3.small” for instance type, take all default values, and click Next step
- Click Create environment
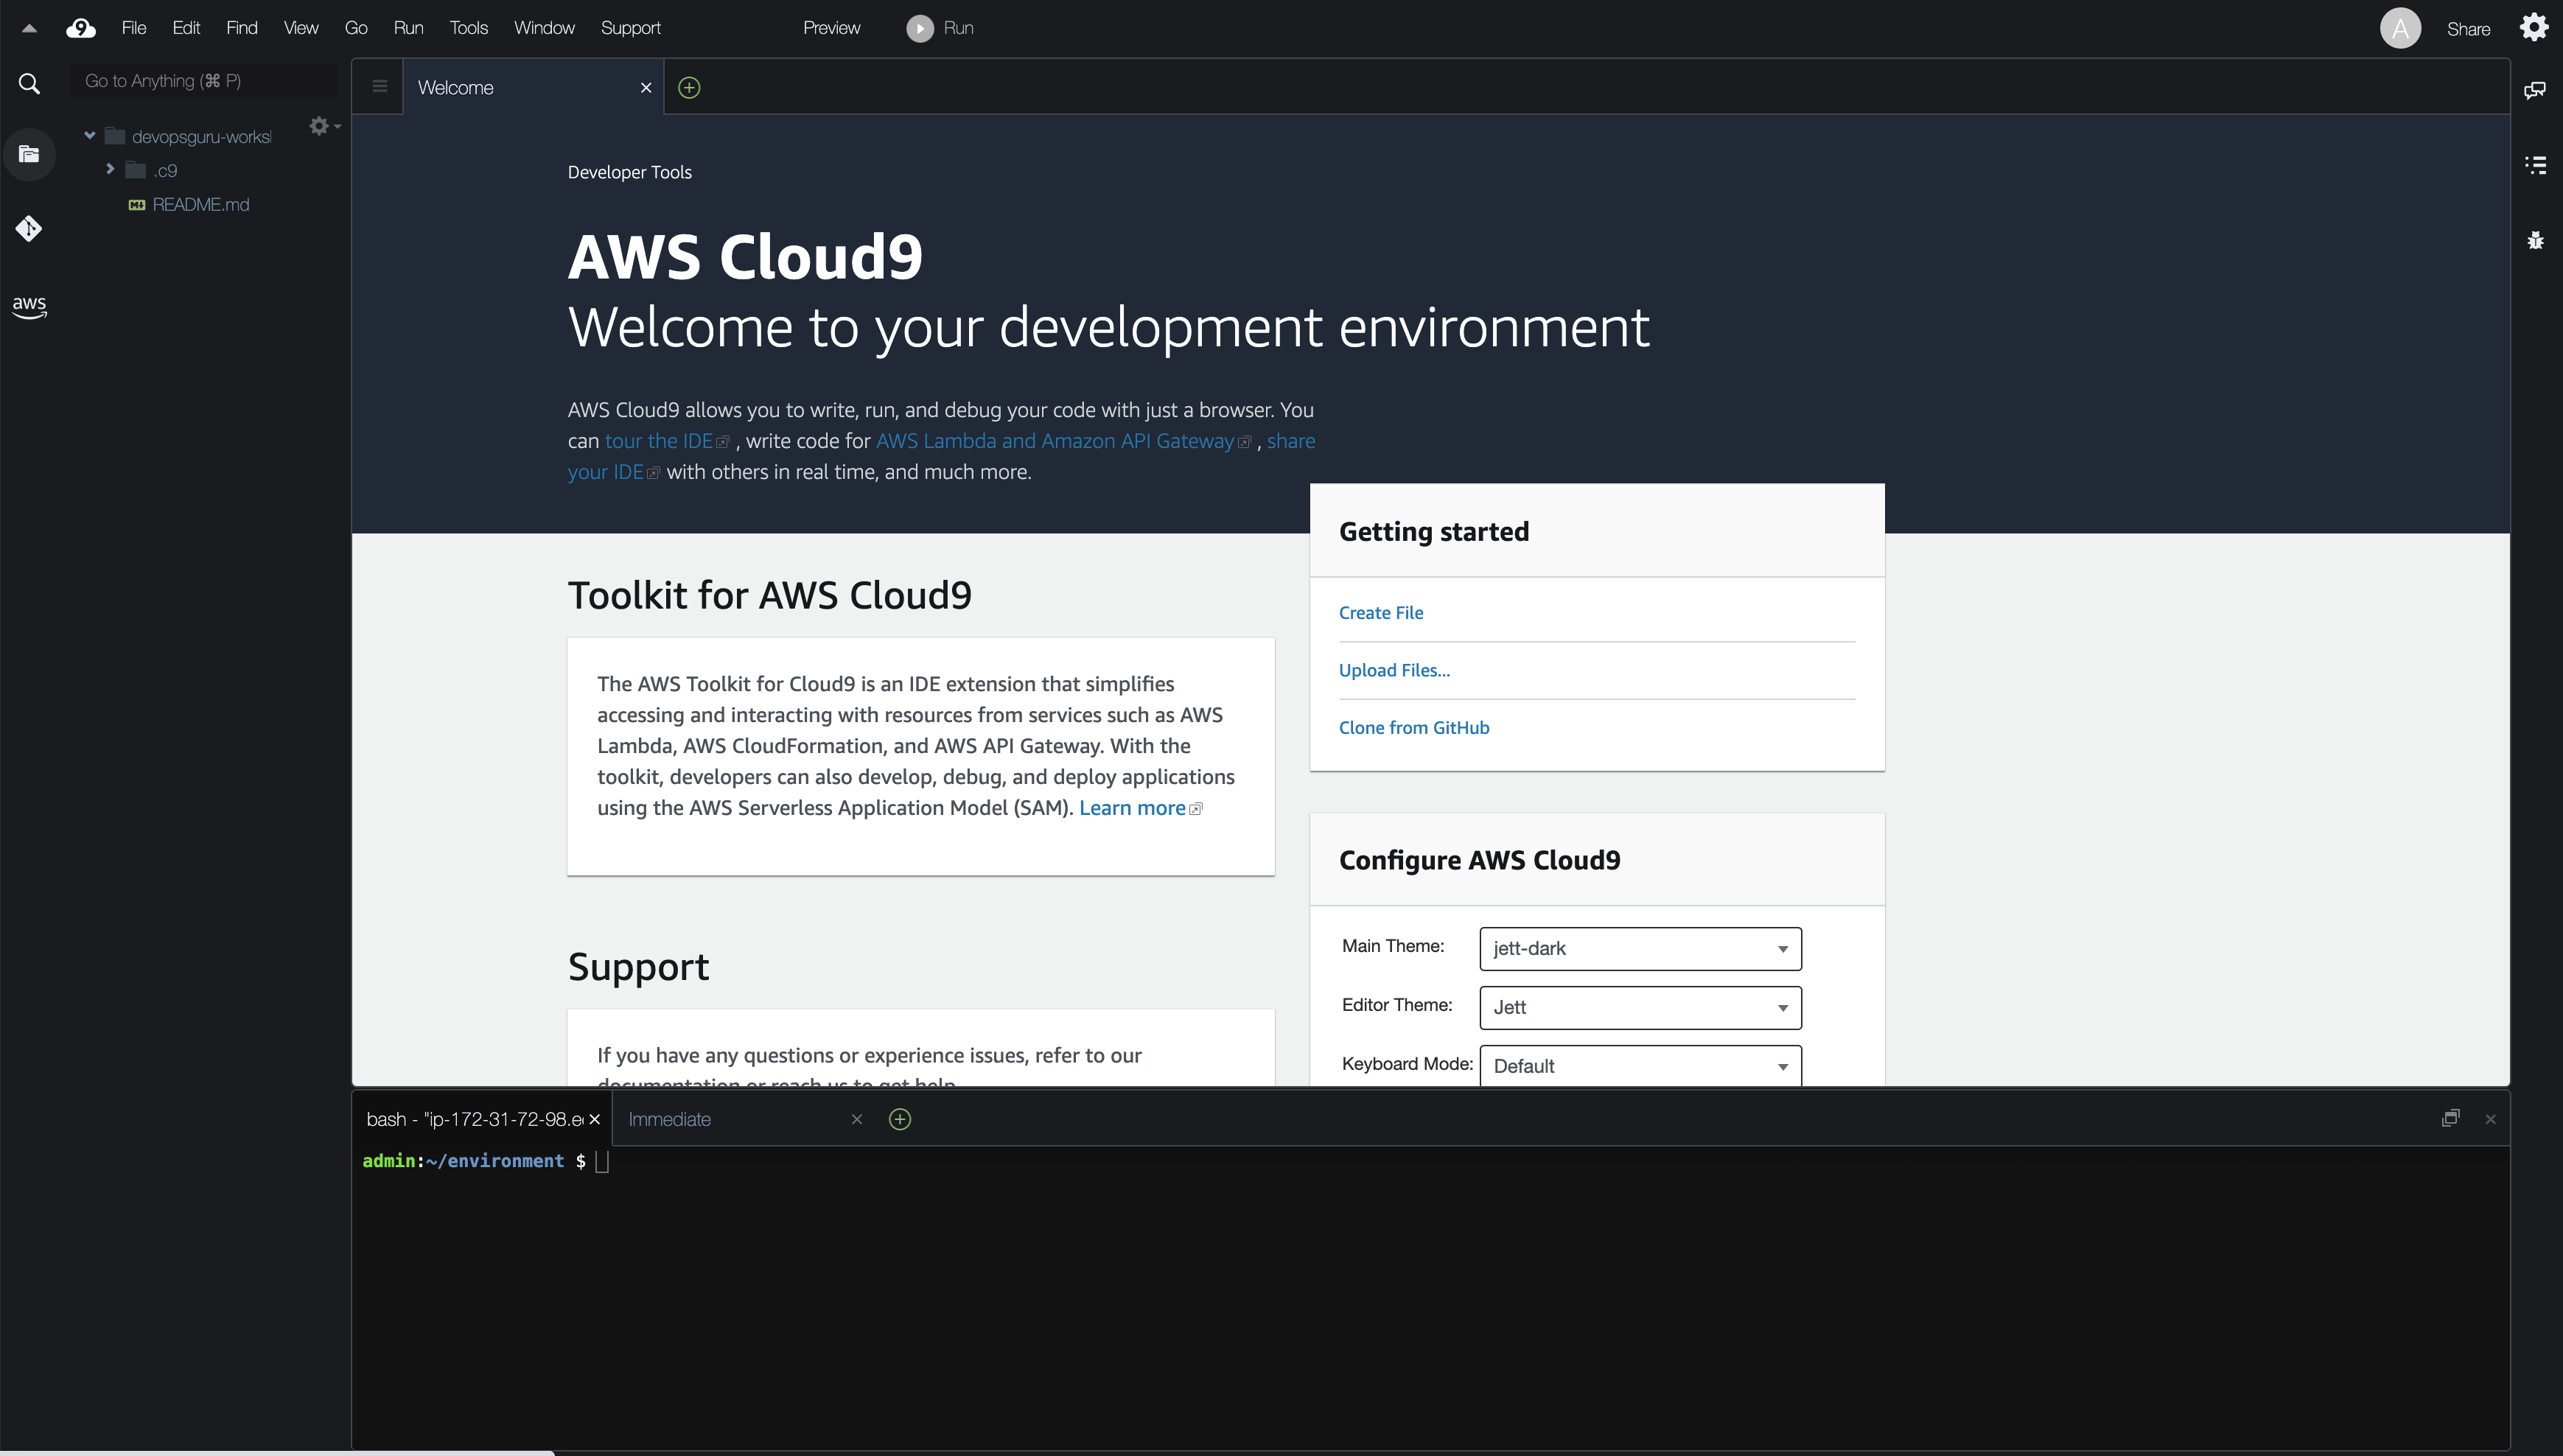
After logging into one of your desired environments, it will give access to the IDE:
Please follow the steps as explained below to configure credentials to be used by Cloud9:
Create IAM role (devopsguru-workshop-admin) with admin rights
Follow this deep-link to create an IAM Role with Administrator access.
Confirm that AWS service and EC2 are selected, then click Next: Permissions to view permissions.
Confirm that AdministratorAccess is checked, then click Next: Tags to assign tags.
Take the defaults, and click Next: Review to review.
- Enter devopsguru-workshop-admin for the Name, and click Create role.
Attach IAM role to the Cloud9 EC2 instance
Follow this deep-link to find your Cloud9 EC2 instance
- Select the instance, then choose Actions / Security / Modify IAM Role
- Choose devopsguru-workshop-admin from the IAM Role drop down, and select Apply
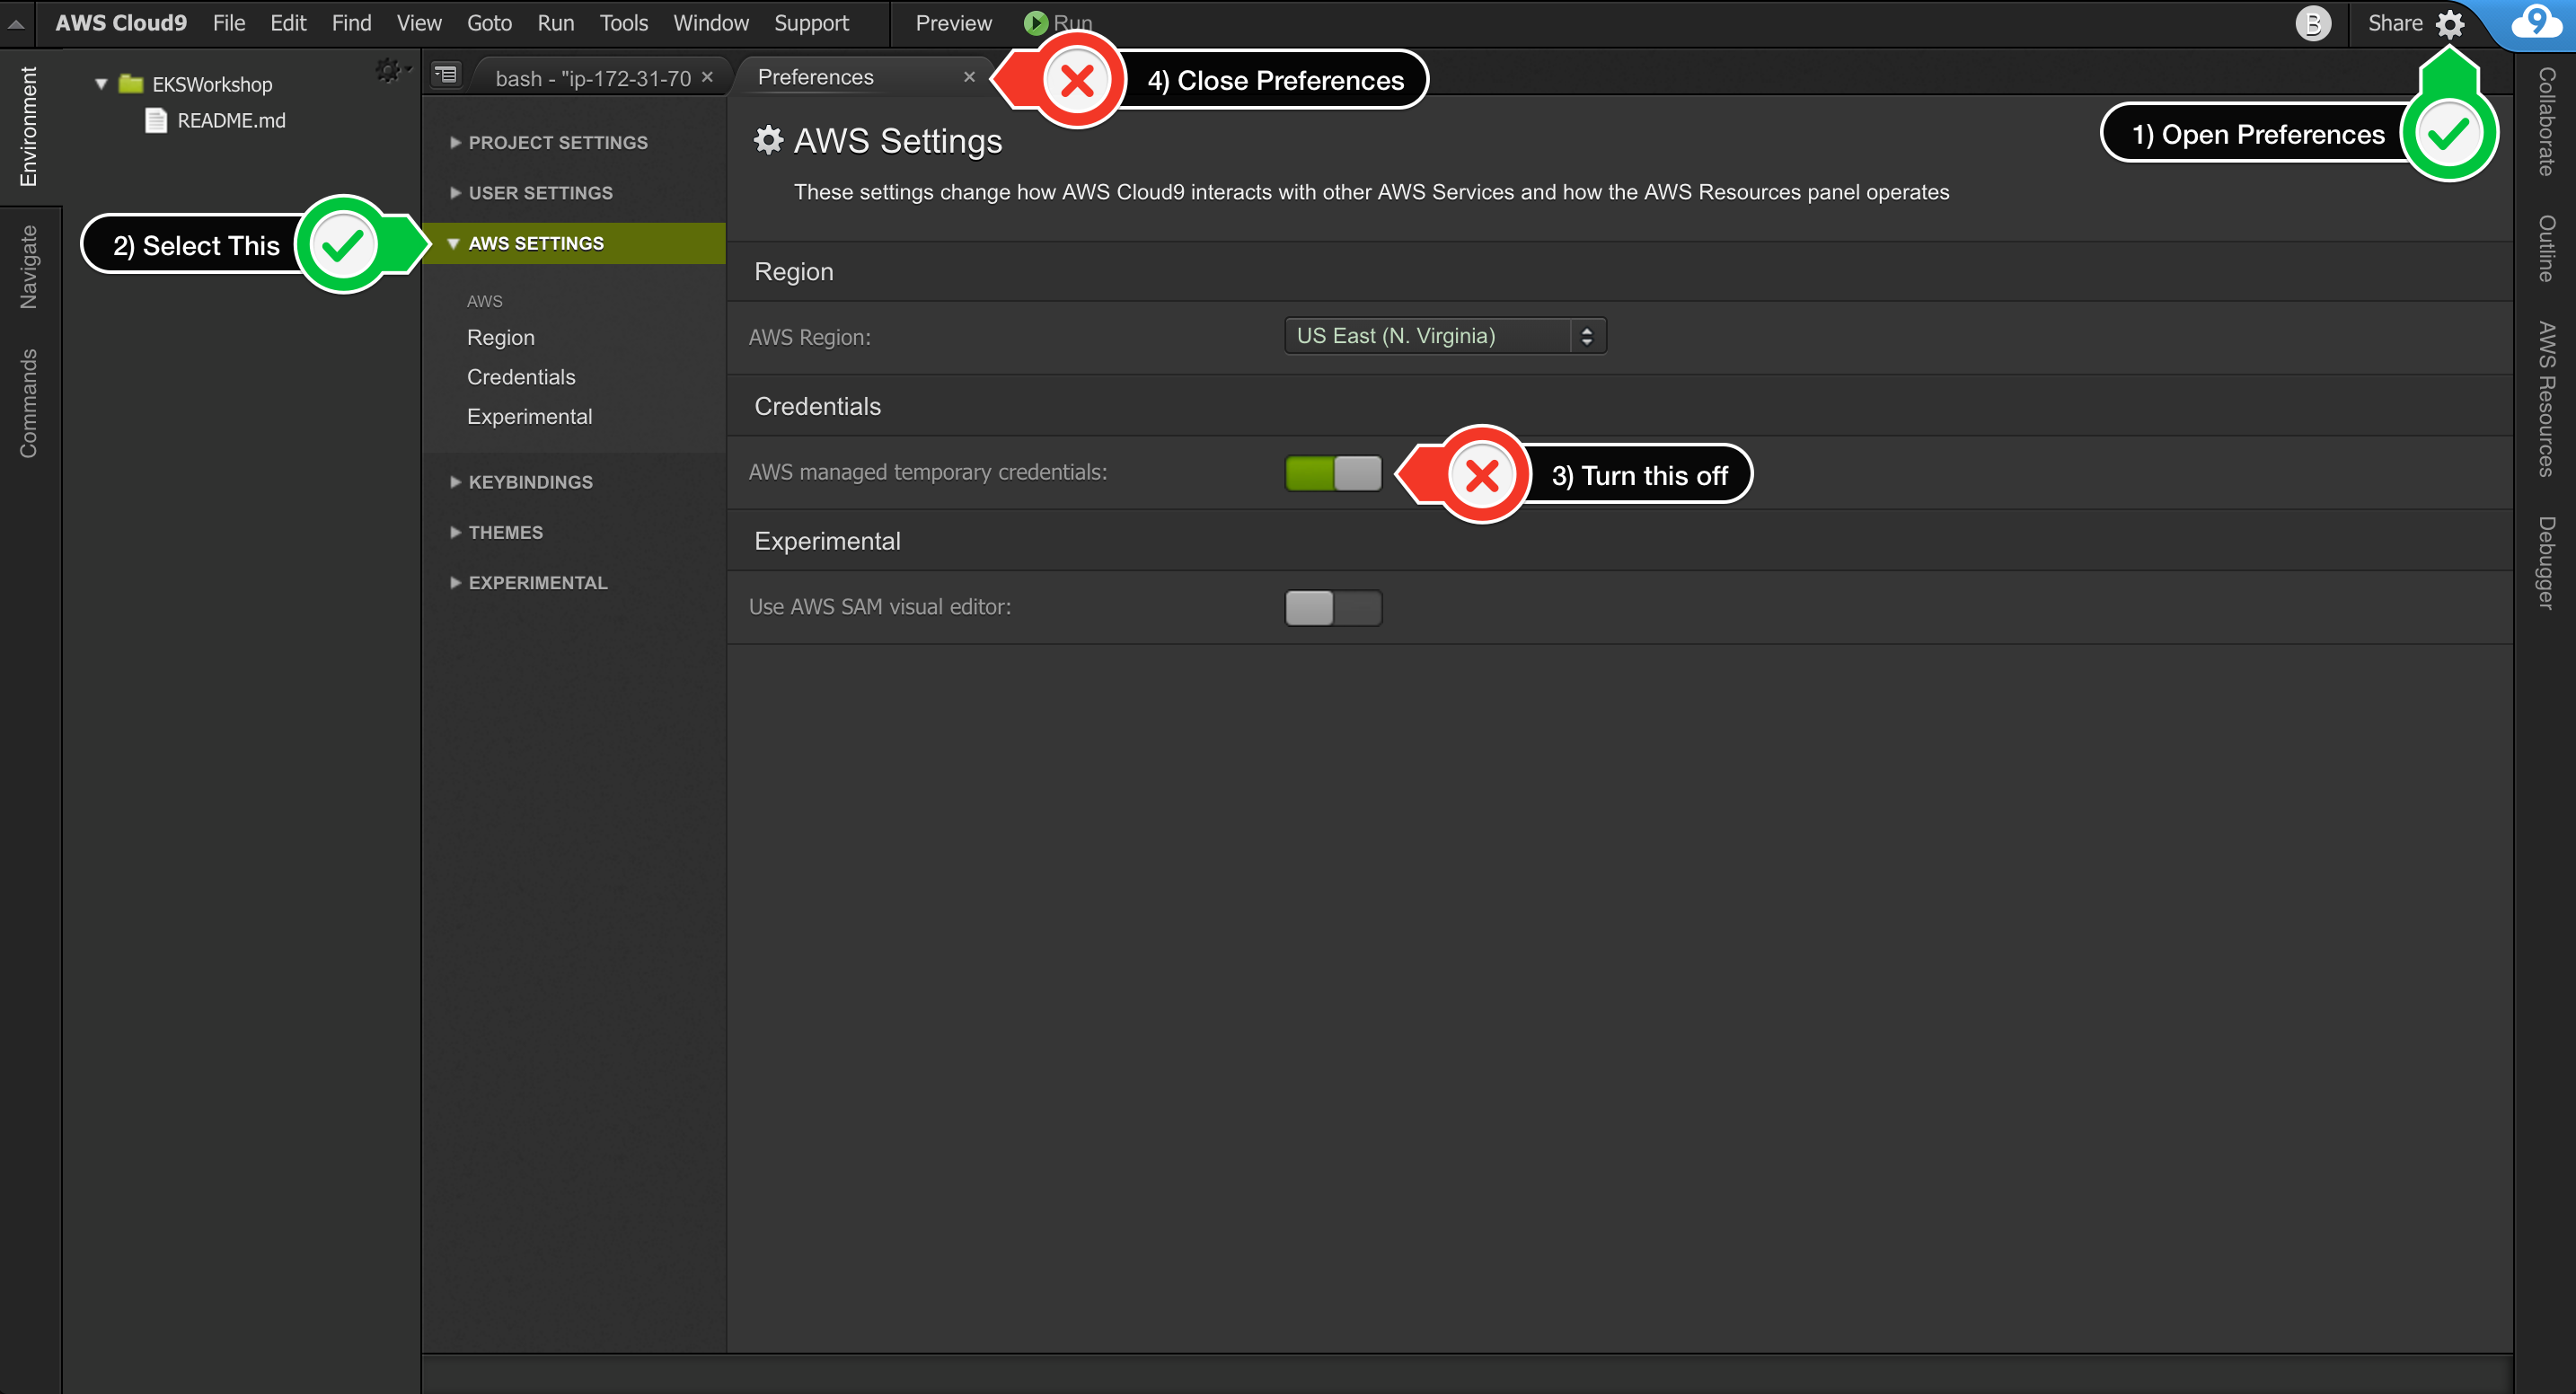
Access AWS Settings in Cloud9 and disable AWS managed temporary credentials
Return to your workspace and click the gear icon (in top right corner), or click to open a new tab and choose “Open Preferences”
Select AWS SETTINGS
- Turn off AWS managed temporary credentials
- Close the Preferences tab
To ensure temporary credentials aren’t already in place we will also remove any existing credentials file:
~ rm -vf ${HOME}/.aws/credentials
Install jq
~ sudo yum install jq -y
We should configure our aws cli with our current region as default.
~ export ACCOUNT_ID=$(aws sts get-caller-identity --output text --query Account)

~ export AWS_REGION=$(curl -s 169.254.169.254/latest/dynamic/instance-identity/document | jq -r '.region')
Check if AWS_REGION is set to desired region
~ test -n "$AWS_REGION" && echo AWS_REGION is "$AWS_REGION" || echo AWS_REGION is not set
Let’s save these into bash_profile
~ echo "export ACCOUNT_ID=${ACCOUNT_ID}" | tee -a ~/.bash_profile
~ echo "export AWS_REGION=${AWS_REGION}" | tee -a ~/.bash_profile

~ aws configure set default.region ${AWS_REGION}
~ aws configure get default.region
Validate the IAM role
aws sts get-caller-identity --query Arn | grep devopsguru-workshop-admin -q && echo "IAM role valid" || echo "IAM role NOT valid"
- AWS CLI Installed:
AWS CLI is installed by default if using Cloud9 service. If you would like to use your own local shell, please follow these instructions if you haven’t installed AWS CLI. Your CLI configuration needs PowerUserAccess and IAMFullAccess IAM policies associated with your credentials.
Please test your CLI access by running the below command:
~ aws --version
~ aws configure get region
If the region is not configured above, please configure using: aws configure set region.
- Install the pre-requisite packages:
You may check the existing version of the packages Python, and pip using these commands:
python --version
pip --version
- Python version must be equal or higher than 3.6
- pip version must be equal or higher than 20.2.3
Install the necessary packages:
~ sudo pip3 install requests
INITIALIZE PROJECT
Now we are going to clone the repository with the CloudFormation templates, deploy our infrastructure, and populate it with test data.
CLONE GIT REPOSITORY
Clone the git repository to download the required CloudFormation templates:
~ git clone https://github.com/aws-samples/amazon-devopsguru-samples

~ cd amazon-devopsguru-samples/generate-devopsguru-insights/
LAUNCH CLOUDFORMATION TEMPLATE
To deploy your infrastructure, complete the following steps:
Create the CloudFormation stack using the following command:
~ aws cloudformation create-stack --stack-name myServerless-Stack \
    --template-body file:///$PWD/cfn-shops-monitoroper-code.yaml \
    --capabilities CAPABILITY_IAM CAPABILITY_NAMED_IAM
Follow this link to find your CloudFormation stack.
When the deployment is complete, click on the stack name, and go to the Outputs tab of the stack on the AWS CloudFormation console.
Record the links for the two APIs: one of them to list the table contents and another one to populate the contents.
POPULATE DYNAMODB TABLE
Run the following commands (simply copy-paste) to populate the DynamoDB table. The below three commands will identify the name of the DynamoDB table from the CloudFormation stack and populate the name in the populate-shops-dynamodb-table.json file.
~ dynamoDBTableName=$(aws cloudformation list-stack-resources \
    --stack-name myServerless-Stack | \
    jq '.StackResourceSummaries[]|select(.ResourceType == "AWS::DynamoDB::Table").PhysicalResourceId' | tr -d '"')
sudo sed -i s/"<YOUR-DYNAMODB-TABLE-NAME>"/$dynamoDBTableName/g \
    populate-shops-dynamodb-table.json
aws dynamodb batch-write-item \
    --request-items file://populate-shops-dynamodb-table.json
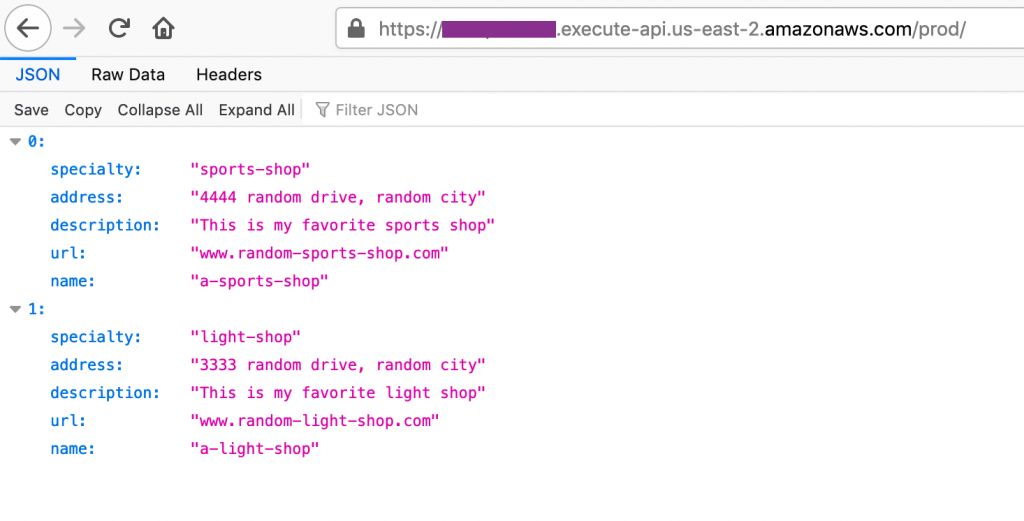
This populates the DynamoDB table with a few sample records, which you can verify by accessing the ListRestApiEndpointMonitorOper API URL published on the Outputs tab of the CloudFormation stack. The following screenshot shows the output: